
Schaumburg Epoxy Flooring installs epoxy garage floor systems in Schaumburg, IL, serving surrounding cities including Wood Dale, Bensenville, Barrington, Prospect Heights and Winfield. With more than 20 years on garage slabs, we grind every floor open, test its moisture, repair what needs repairing, and build a base coat, flake layer and topcoat sized to the car, the salt and the season.
A garage floor coating has a harder life than almost any other floor in a house. It takes the weight of a car on four small contact patches, warm tires after a highway drive, dripping brine for four months of the year and the scrape of shovels, bikes and toolboxes. The coating holds up to all of that only when it is bonded to clean, sound, dry concrete.
That is why our quotes start on your knees on the slab rather than at a price chart. We look at the old coating if there is one, the cracks, the control joints, the apron edge and the step into the house, and the proposal names the product, the system build and the finished thickness so you can hold us to it.
What Goes Into a Garage Floor Coating System
Diamond Grinding to a Real Surface Profile
The first day of a garage job is mostly dust control and diamond tooling. We grind the slab with a walk-behind grinder and edge the perimeter by hand, removing the troweled cream, oil-soaked spots, old sealer and any kit paint. The result is an open, porous surface in the ICRI concrete surface profile range the base coat is designed for.
We do not acid etch. Etching cannot remove sealers or coatings, it leaves salts that have to be rinsed and dried out, and it produces a profile that varies across the floor. A ground slab tells us more, too: soft concrete, hidden patches and delaminated toppings show up under the grinder before they show up under a coating.
Base Coat, Flake Broadcast and Topcoat
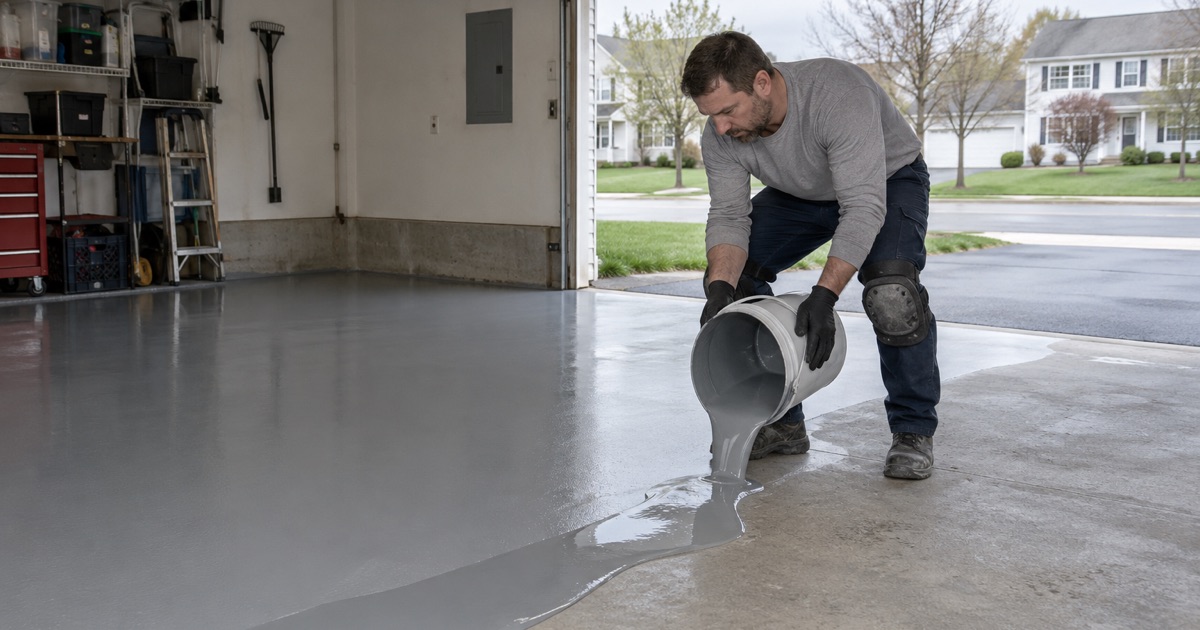
Most of our garage floors are built in three layers. A 100% solids epoxy or a polyaspartic base coat soaks into the ground concrete and builds body, a vinyl flake broadcast is thrown into the wet base to refusal or at a lighter density, and a clear polyaspartic topcoat locks the flake down and takes the wear.
Each layer does a different job. The base is about adhesion and build, the flake is about texture and hiding dirt, and the topcoat is about abrasion, salt and color stability in sunlight. Cutting any one of them is how a low quote is reached, which is why each layer is named in our proposal rather than folded into one word.
Film Thickness and Why It Belongs in Writing
Two garage floors can look identical on the day they are finished and wear completely differently, because one was rolled thin and one was built to the manufacturer’s thickness. We write the finished thickness into the proposal. It is the easiest number to cut quietly, and it is the one that decides how long the floor lasts.
Garage Slabs in Schaumburg and the Nearby Suburbs
1970s and 1980s Garage Slabs
The 1970s were the village’s largest building decade, with roughly 37.8 percent of today’s housing units built then, and the 1980s were close behind. A garage slab that old has usually seen decades of salt, a patch or two, and often a coat of paint or sealer, and every one of those changes what the floor needs before it can take a new system.
Older slabs also tend to have wider, rougher control joints and settled sections near the apron. We fill joints and stable cracks with a rigid repair material, grind patches flush, and tell you plainly where the slab has moved, because a coating cannot hold two settling pieces of concrete together.
Newer Garages and the Missing Vapor Retarder
Schaumburg builds to the 2021 International Residential Code, and the model code’s vapor retarder requirement covers slabs under living space but exempts garages. A newer garage slab can therefore sit straight on damp soil with nothing between them. Age does not tell us it is dry, so we measure the moisture with an ASTM F2170 relative humidity probe or an ASTM F1869 calcium chloride test before choosing a primer.
When a reading comes back high, the answer is usually a moisture-mitigation primer under the base coat rather than a different flake or a thicker topcoat. It adds a step and a line to the price, and we would rather show you the reading and that line before the job than explain a blistered floor after it. Moisture is also the first exclusion on nearly every coating warranty, which is one more reason the test comes first.
Townhome Garages and Association Rules
Attached single-family homes make up about 18.6 percent of the village’s housing units, and many of them sit in associations with rules about work hours, colors and shared drives. We get the association’s approval in hand first, keep grinding dust contained with vacuum-shrouded equipment, and schedule so the neighbors can still reach their own garages.
Winter, Road Salt and Warm Tires
Calcium Chloride Brine and Deicer Resistance
Road crews and driveways across the northwest suburbs use rock salt and calcium chloride, and the brine rides into the garage in the wheel wells. On bare concrete it soaks in and scales the surface. A full-broadcast floor with a chemical-resistant polyaspartic topcoat keeps that brine on top, where a squeegee and a hose send it out the door.
Hot Tire Pickup and How It Is Prevented
Hot tire pickup is a thin or poorly bonded coating lifting where a warm tire sat on it. It shows up most on single-part garage paints and on kits rolled over etched concrete. A ground surface, a true high-solids system at full thickness, and enough cure time before the first car rolls in are what prevent it.
Cold Garages and Cure Timing
Resin cures by chemical reaction, and a cold slab slows that reaction to a crawl. When the concrete is too cold, or the surface sits too close to the dew point, the coating can blush and stay soft. We measure the slab temperature and the dew point spread on the day, and an unheated garage in deep winter is booked for spring rather than coated anyway.
Our Step-by-Step Epoxy Garage Floor Process
Step 1: Slab Assessment and Moisture Test
We look at the floor, note the cracks and old coatings, and run a moisture test. The result and the repair list go into a written proposal and, for every home job, a written contract along with the state’s consumer-rights pamphlet before work starts.
Step 2: Grinding and Repair
The slab is diamond ground, edges are hand ground, and cracks, spalls and joints are filled and ground flush. Dust is captured at the tool, and the floor is vacuumed clean before any coating is opened.
Step 3: Base Coat and Flake
The base coat goes down at the specified thickness, and the flake is broadcast into it while it is still wet. Once it cures, loose flake is scraped and vacuumed off so the topcoat goes onto a tight, even surface.
Step 4: Topcoat and Cure
The clear topcoat seals the system. We walk you through foot-traffic and parking times for the products used and the temperature of your slab, then read the warranty exclusions with you, moisture first.
Step 5: Living With the Floor
A coated garage floor needs little care: squeegee out slush during the winter, rinse the salt film off in spring, and keep a mat under the spot where the car drips. Hot tires, dropped tools and floor jacks are what the system was built for, but a jack stand on bare coating can dent it, so a scrap of plywood under each stand is worth keeping on the shelf.
- 20+ Years Coating Floors
- Moisture Tested Before Coating
- Written Contract on Every Home Job